The MailChimp integration allows syncing user and/or customer emails directly with your MailChimp lists whenever certain events occur within your plugin or theme. Syncing the emails with your MailChimp is super easy!
It doesn’t require any coding and only takes a few minutes:
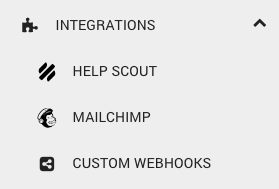
- Login to your Freemius dashboard and go to INTEGRATIONS -> MAILCHIMP:
- Connect your Freemius plugin or theme with your MailChimp account:

- Click on Create New Rule.
- Tick the event types with which you would like to trigger the emails sync:
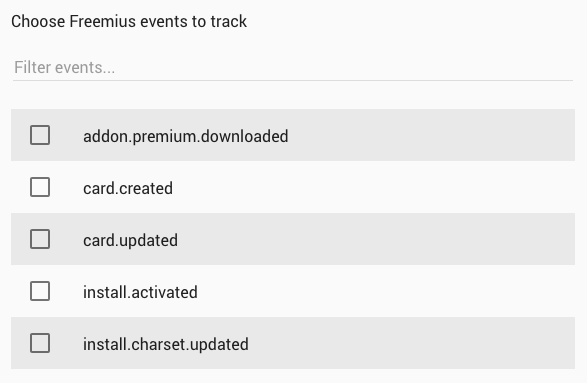
You can access the documentation of the events collection here. - Select the MailChimp list you’d like to sync the emails to.
- If you prefer to sync the emails with any specific group, choose the group category and group.
- Choose whether you’d like the rule to add the email to the list or remove it from the list:
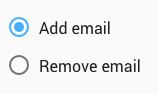
- Finally, don’t forget to click save.


MailChimp in the Prism of GDPR
Freemius automatically manages a special property ( is_marketing_allowed) for each user (per product) to determine whether the user given their consent to receive marketing and promotional emails. When an email is added to your MailChimp through the Freemius integration, this property is synced too using a radio merge field named FS_GDPR:

Here’s how it looks like on MailChimp’s subscriber profile of a list:
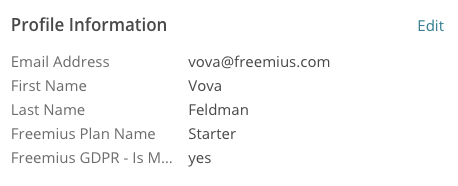
When you’re setting up your next promotional marketing campaign, make sure that you create a proper segment where you only target subscribers that have their “Freemius GDPR” field set to yes:
Keep in mind that while you are not allowed to send pure marketing offers (e.g. seasonal discounts) to subscribers who’ve not opted-in (their FS_GDPR field is not equal to 'yes'), you can still email product-related announcements, security-related messages, and other non-promotional emails.
Important:
The marketing flag sync is one-directional. Updates in Freemius will be reflected inside MailChimp, but not the other way around. So if a user unsubscribes from your MailChimp list, Freemius will not be aware of that! To achieve a bidirectional sync, you can leverage MailChimp’s webhooks mechanism to trigger corresponding calls to our API.
MailChimp + Freemius Best Practices
MailChimp’s pricing is based on the number of subscribers in all lists combined. When the same email address is included in multiple lists, it counts as multiple subscribers. Therefore, whether you are selling a single plugin/theme, or have a shop with multiple products, in most cases, setting up a single list for all of your subscribers is good enough and a great way to save some money. Then, you can leverage MailChimp’s groups and categories to associate the subscribers with their respective prodct(s) and target your email marketing campaigns at the right people.
A Step-By-Step List and Groups Configuration
- Go to MailChimp and login.
- Create a list named
My WordPress Shop(or any other name). - Under the list management, go to Manage Contacts → Groups, and click Create Groups.
- Use your product’s name for the Group Category (e.g.
My Awesome Plugin). - Then, add the following Group names:
Active,Inactive,Paying,Customers,Uninstalled,Trial Period. It should look something like this:
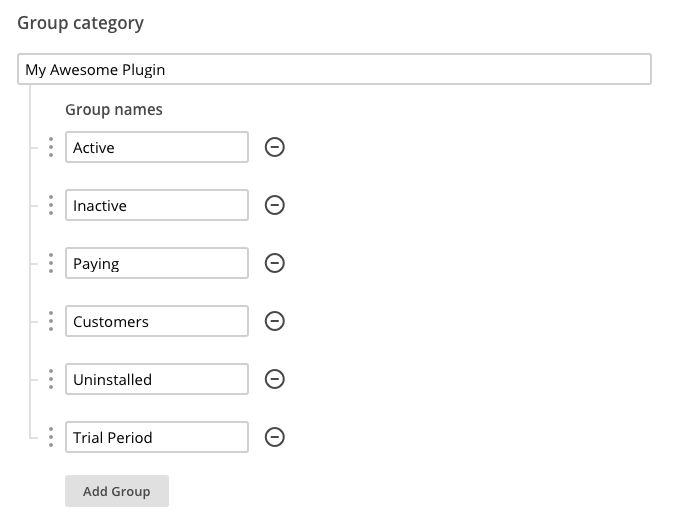
- Lastly, click Save.
- Repeat steps 3-6 for every different product that you sell through Freemius.
The Freemius-recommended MailChimp Rules
Login to your Freemius dashboard and go to INTEGRATIONS -> MAILCHIMP. Start creating the following rules:
1. Add email to My WordPress Shop/My Awesome Plugin/Active after install.installed, install.activated, or install.user.opt_in.
2. Add email to My WordPress Shop/My Awesome Plugin/Paying after payment.created.
3. Add email to My WordPress Shop/My Awesome Plugin/Customers after plan.lifetime.purchase, subscription.created, or license.extended.
4. Add email to My WordPress Shop/My Awesome Plugin/Trial Period after install.trial.started or install.trial.extended.
5. Add email to My WordPress Shop/My Awesome Plugin/Inactive after install.deactivated.
6. Add email to My WordPress Shop/My Awesome Plugin/Uninstalled after install.uninstalled.
7. Remove email from My WordPress Shop/My Awesome Plugin/Active after install.deactivated, install.uninstalled, install.deleted, or install.user.opt_out.
8. Remove email from My WordPress Shop/My Awesome Plugin/Paying after license.expired or license.cancelled, or install.user.opt_out.
9. Remove email from My WordPress Shop/My Awesome Plugin/Trial Period after install.trial.cancelled, install.trial.expired, or install.user.opt_out.
10. Remove email from My WordPress Shop/My Awesome Plugin/Inactive after install.installed, install.activated, or install.user.opt_out.
11. Remove email from My WordPress Shop/My Awesome Plugin/Uninstalled after install.installed, install.activated, or install.user.opt_out.
