Historically, many WordPress developers chose to monetize with the add-ons/extensions freemium business model, trying to replicate the success of popular products like WooCommerce.
In most cases, the add-ons model is actually not a good fit and we are seeing a market shift towards plans and add-on bundles (similar to plans). Therefore, if you are just starting out, don’t rush into add-ons only because you see others doing it. Be certain it makes sense for your product first.
We wrote an in-depth article “Premium vs. Add-ons – Which is the best monetization model for your plugin?” that will give you a solid insight before you make your decision.
If you’d like to see an example of a plugin that sells add-ons, check out RatingWidget.
How to sell add-ons with Freemius?
Freemius fully supports the add-ons business model, and the integration only takes a few minutes. You can sell add-ons for plugins and themes.
Freemius also supports selling bundles which is particularly useful when selling add-ons.
- Login to your Freemius dashboard.
- If you already created your “parent” product on Freemius, skip to #4. If not, create your “parent” plugin or theme by clicking the Add product / bundle button on the left side nav:
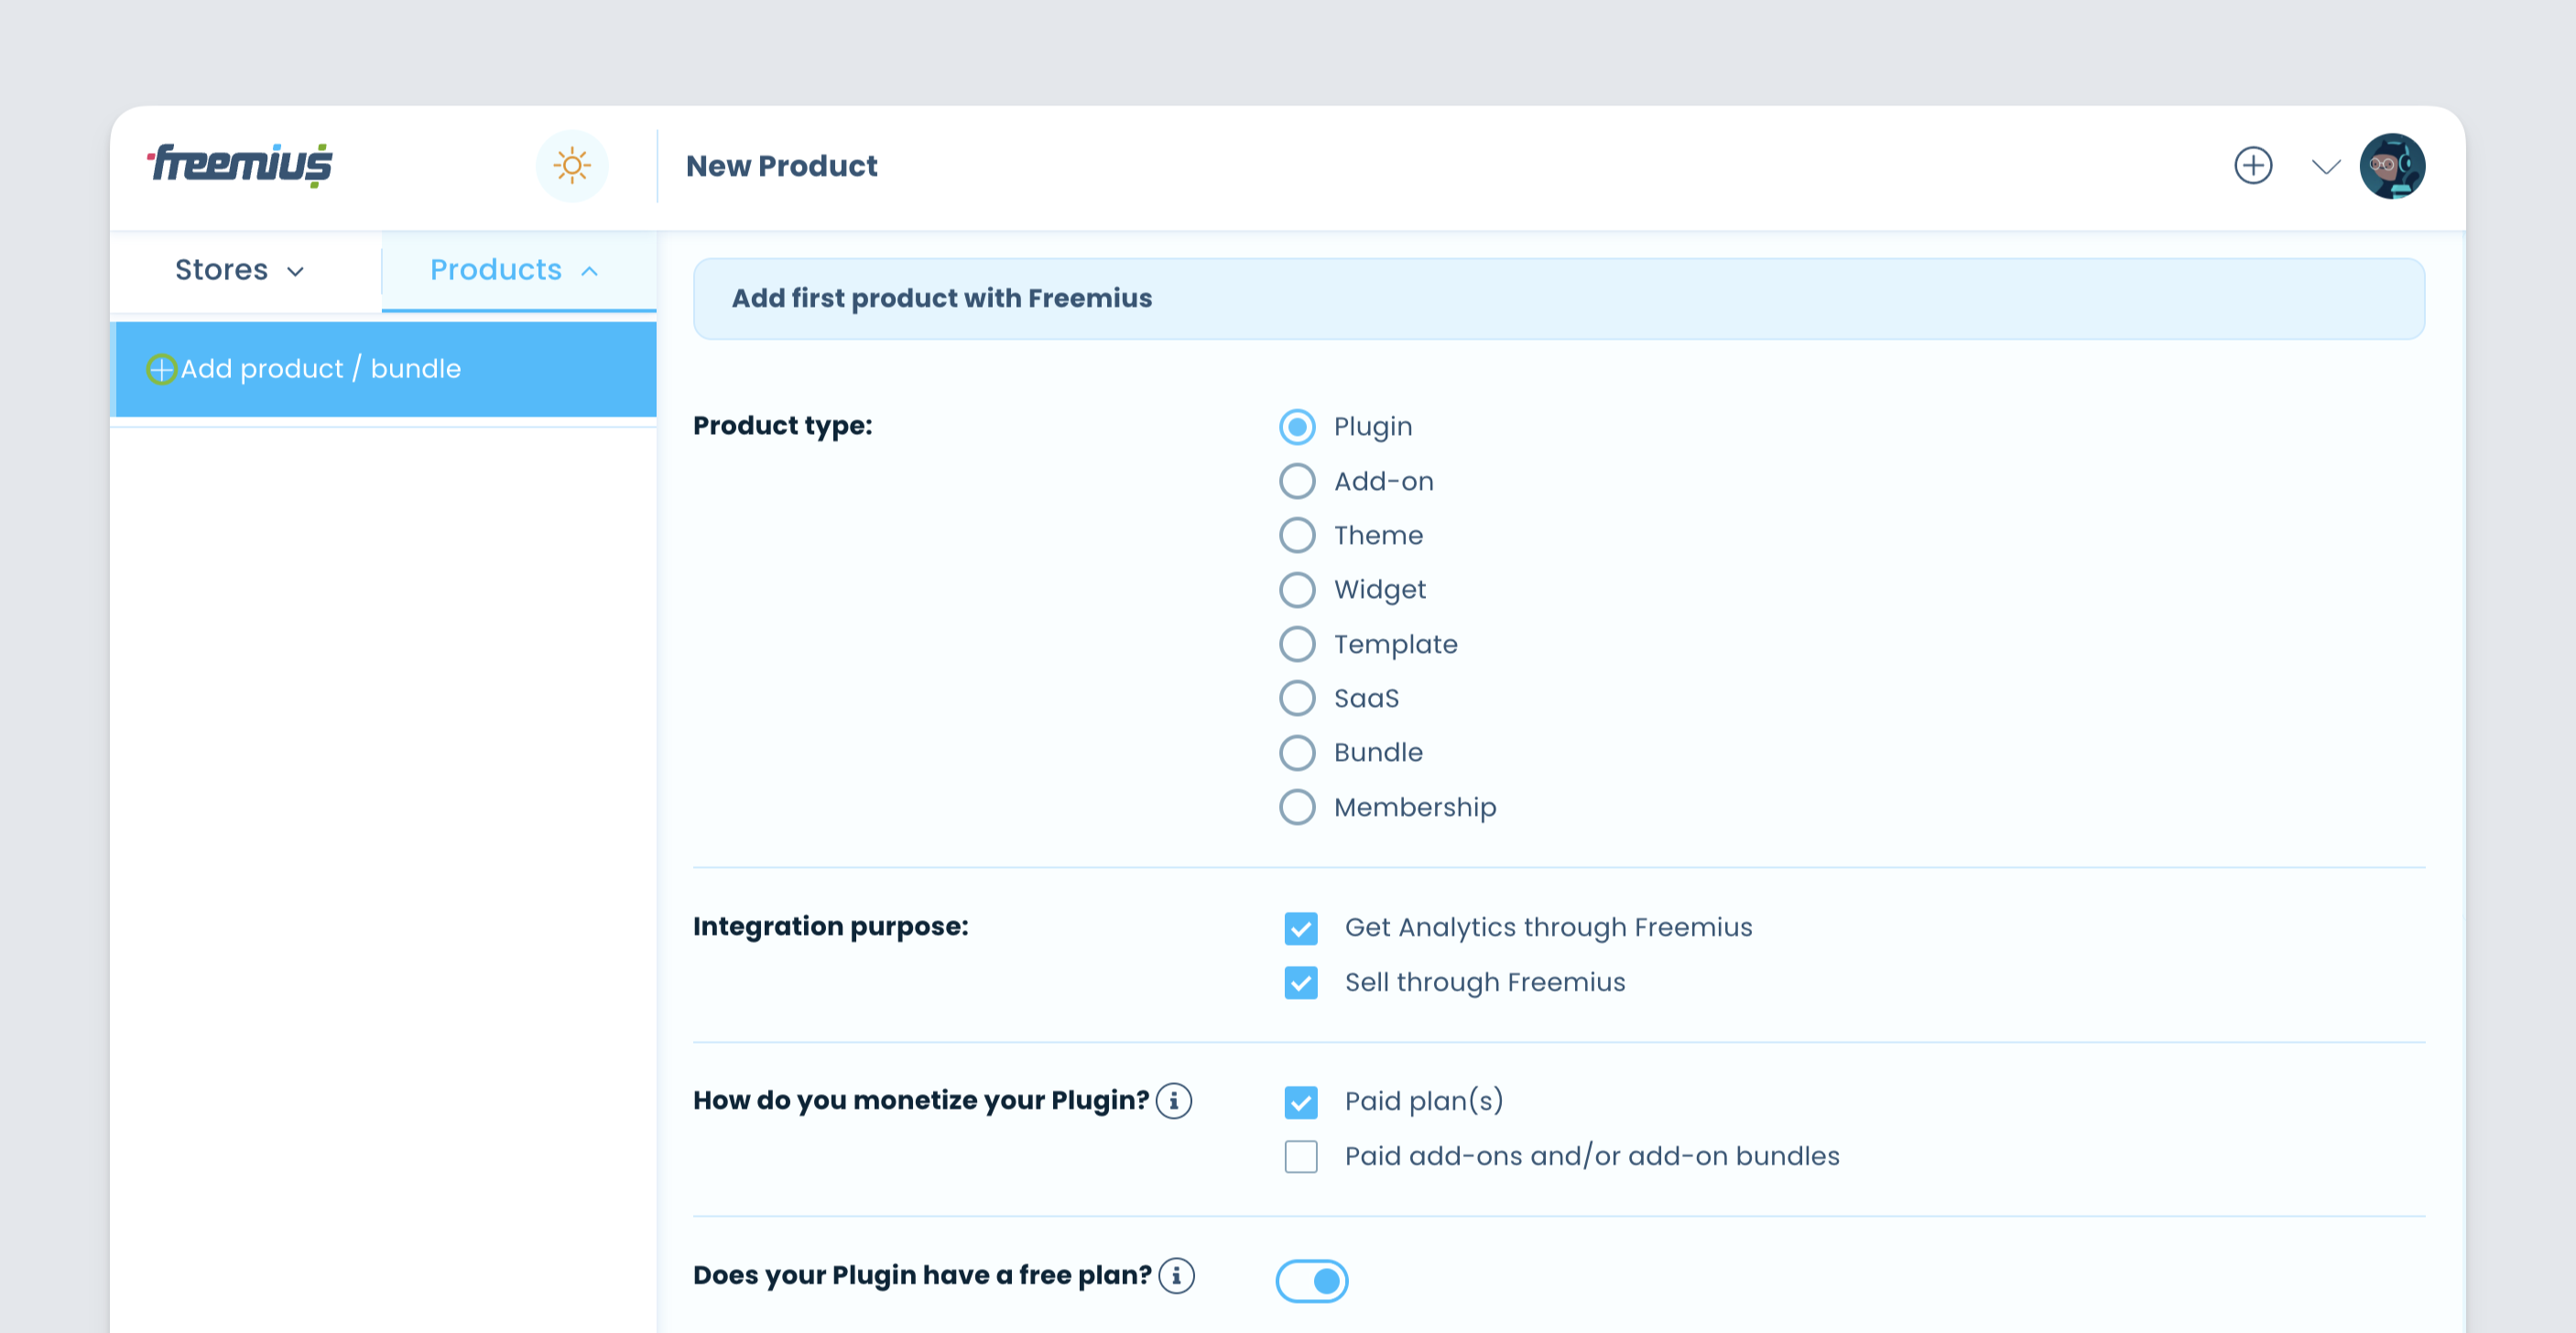
- Follow the instructions to complete the “parent” product creation. (We will integrate the SDK later).
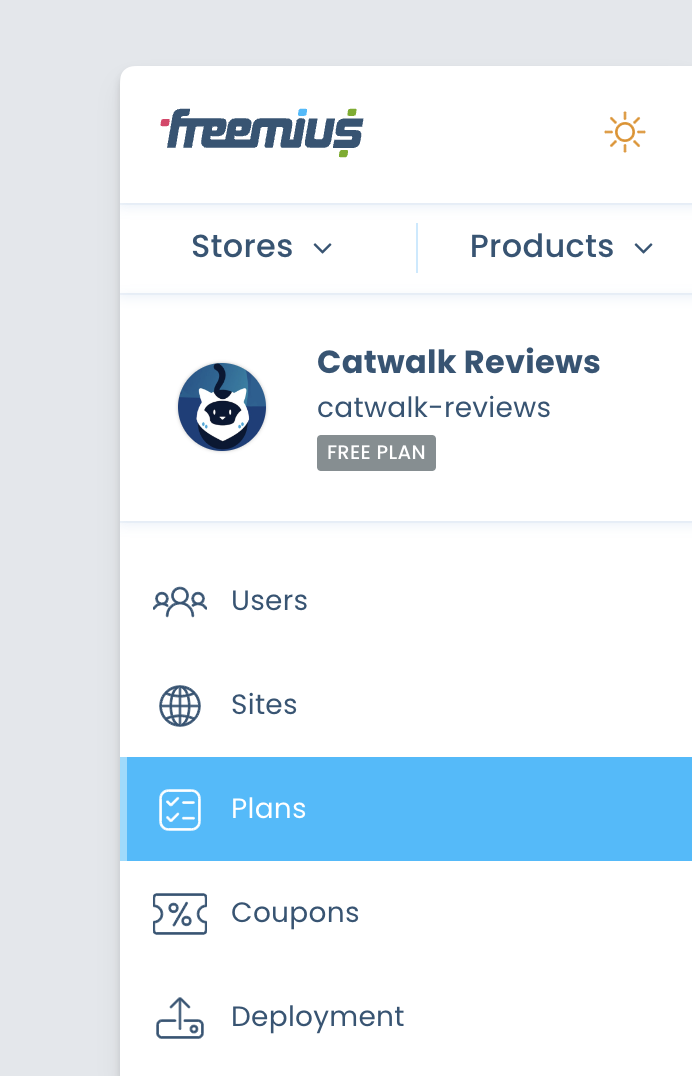
- In the “parent” product menu, click on the Add Ons menu item:
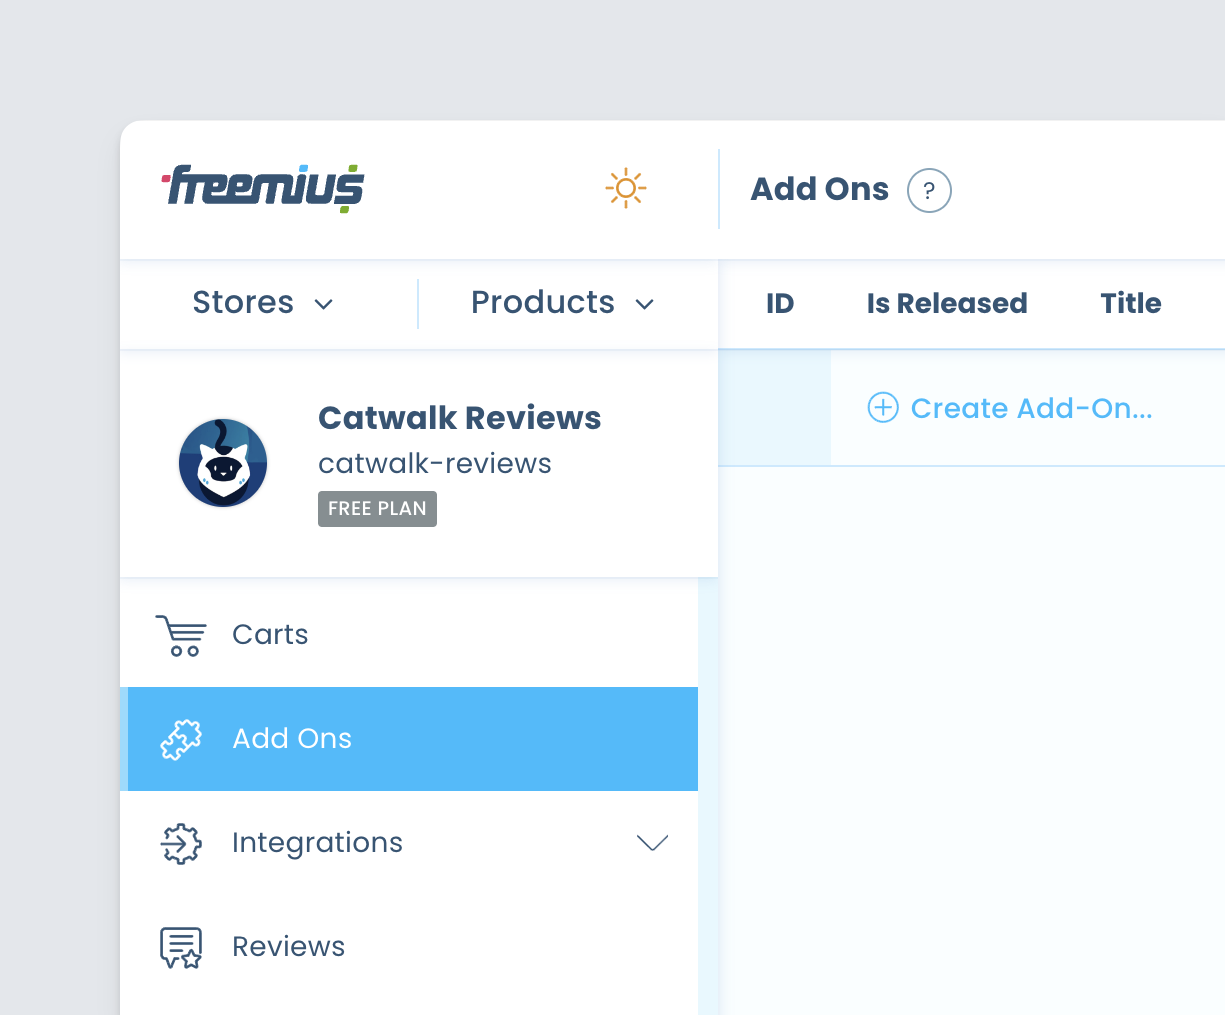
- Click the Create Add-On button and fill in all the required details
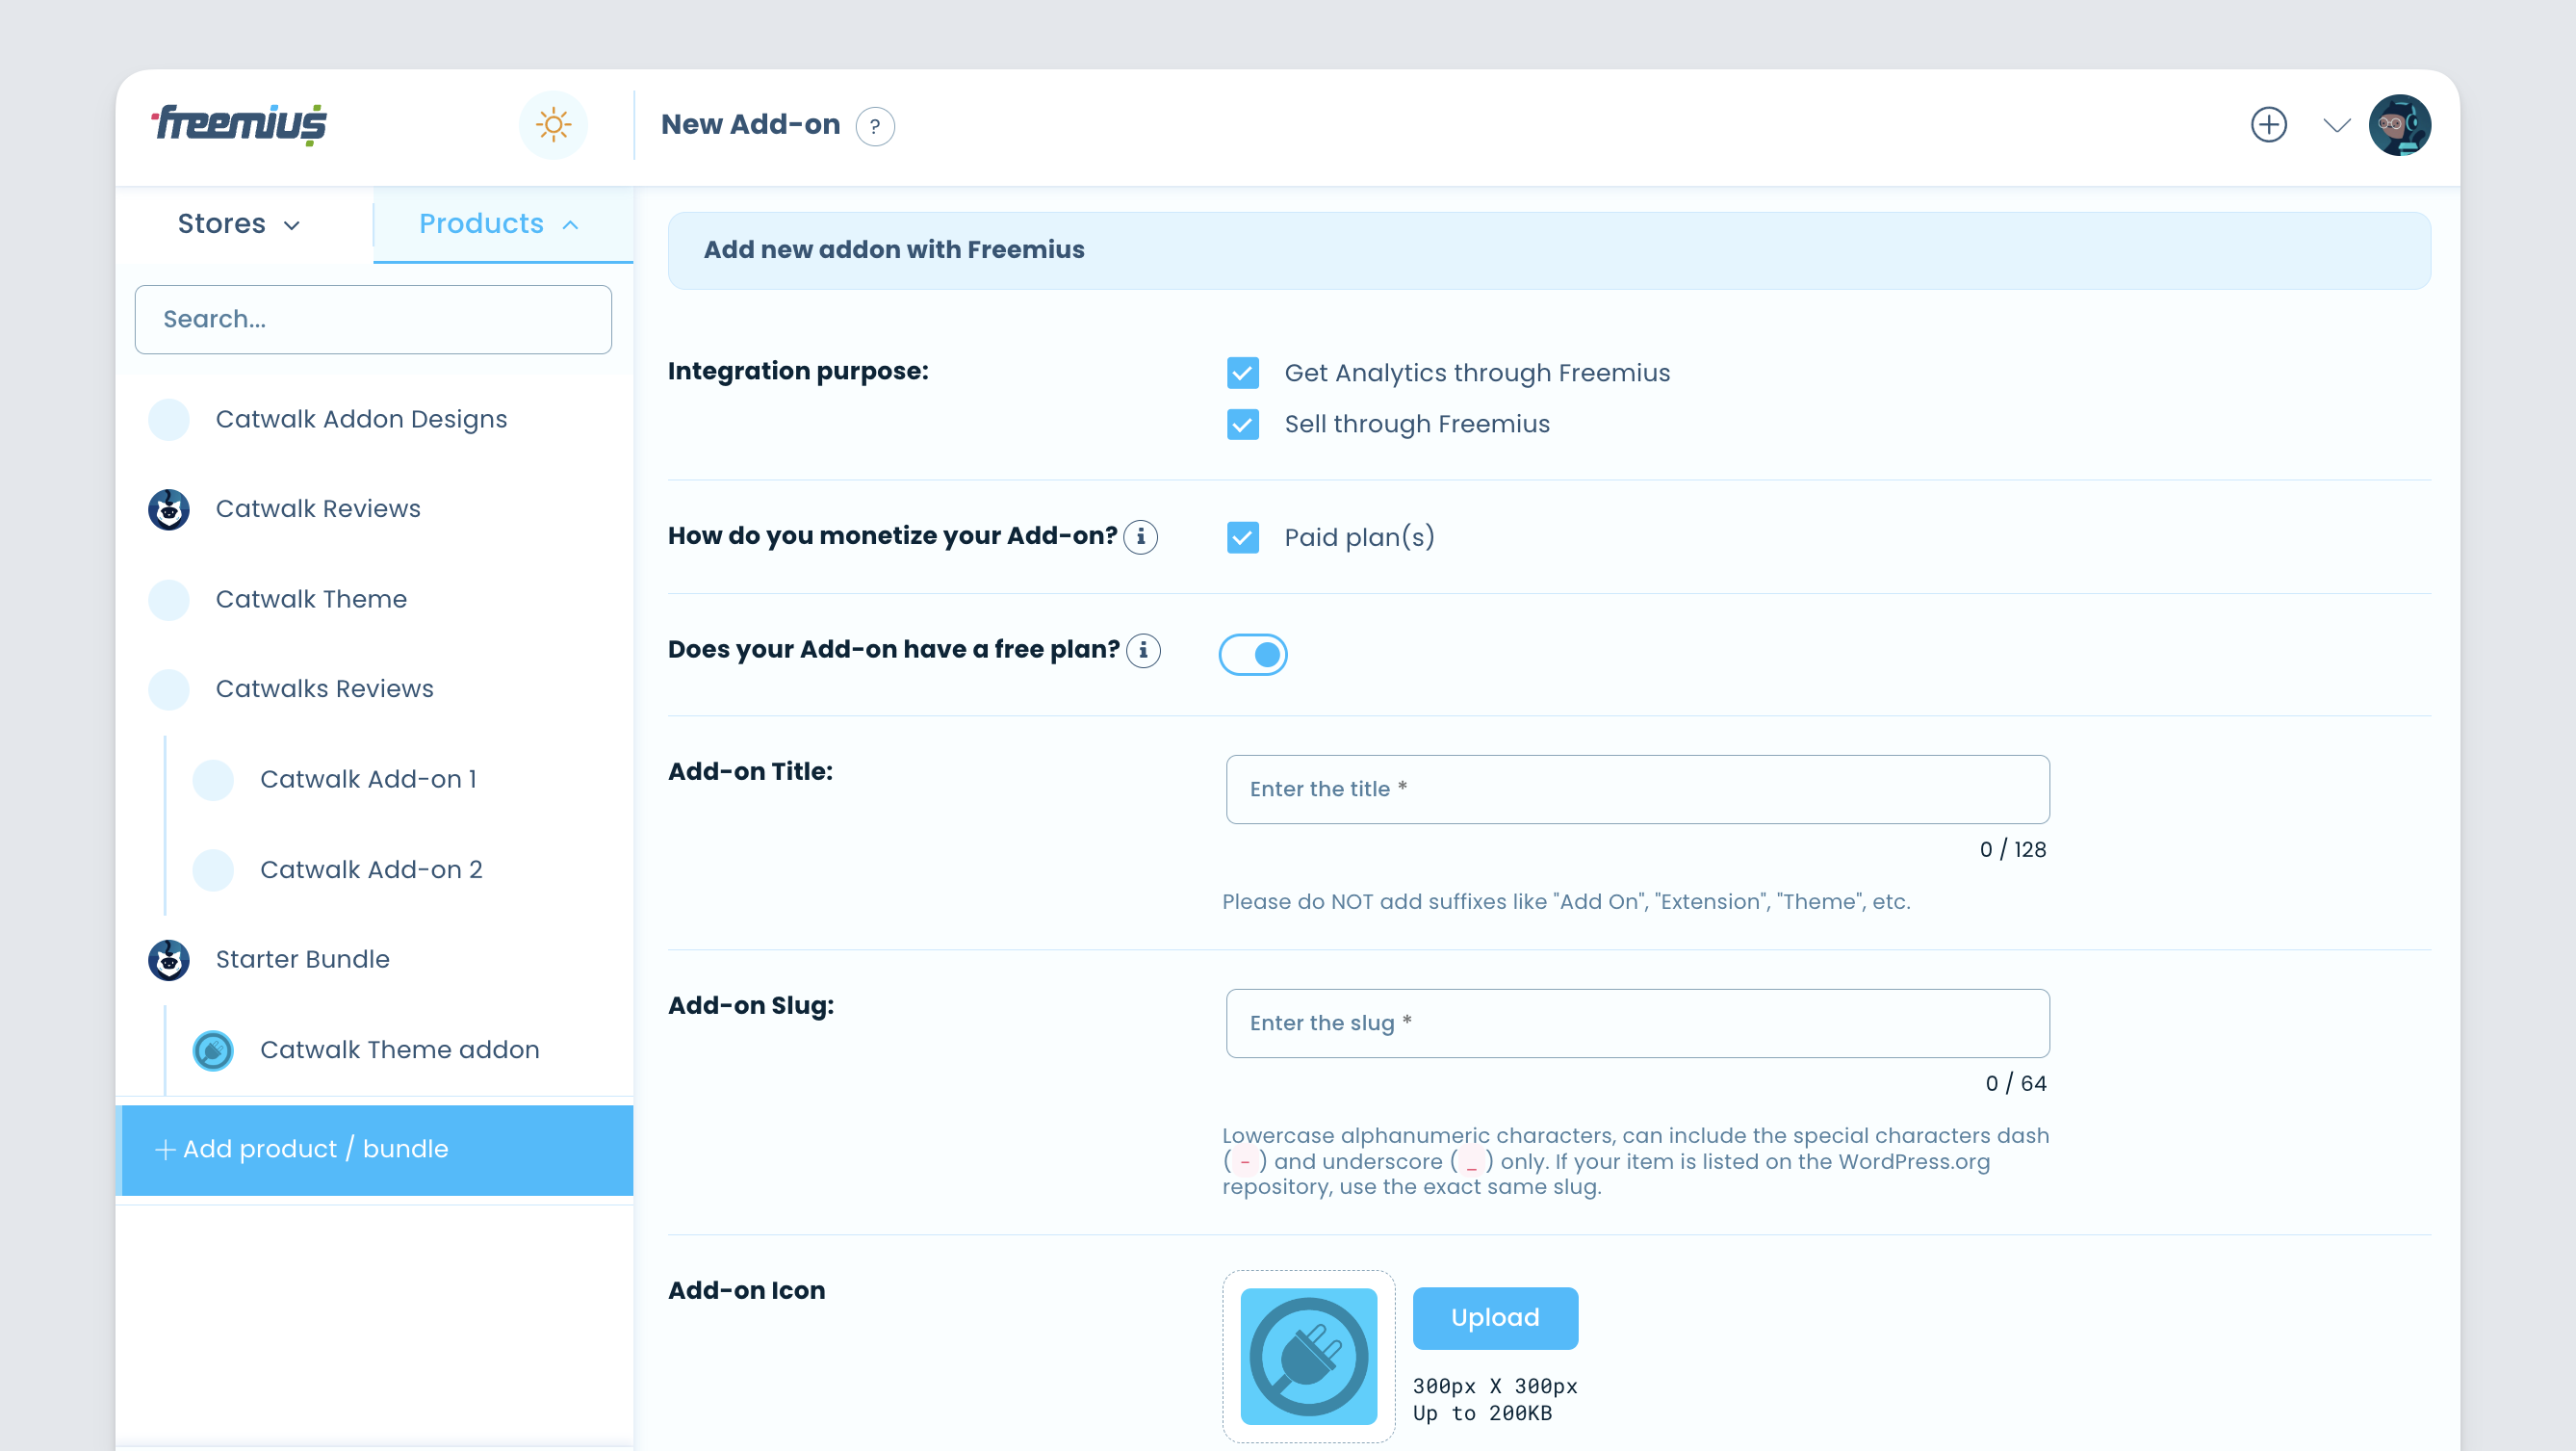
- Click the Get Started button. This will create the add-on product.
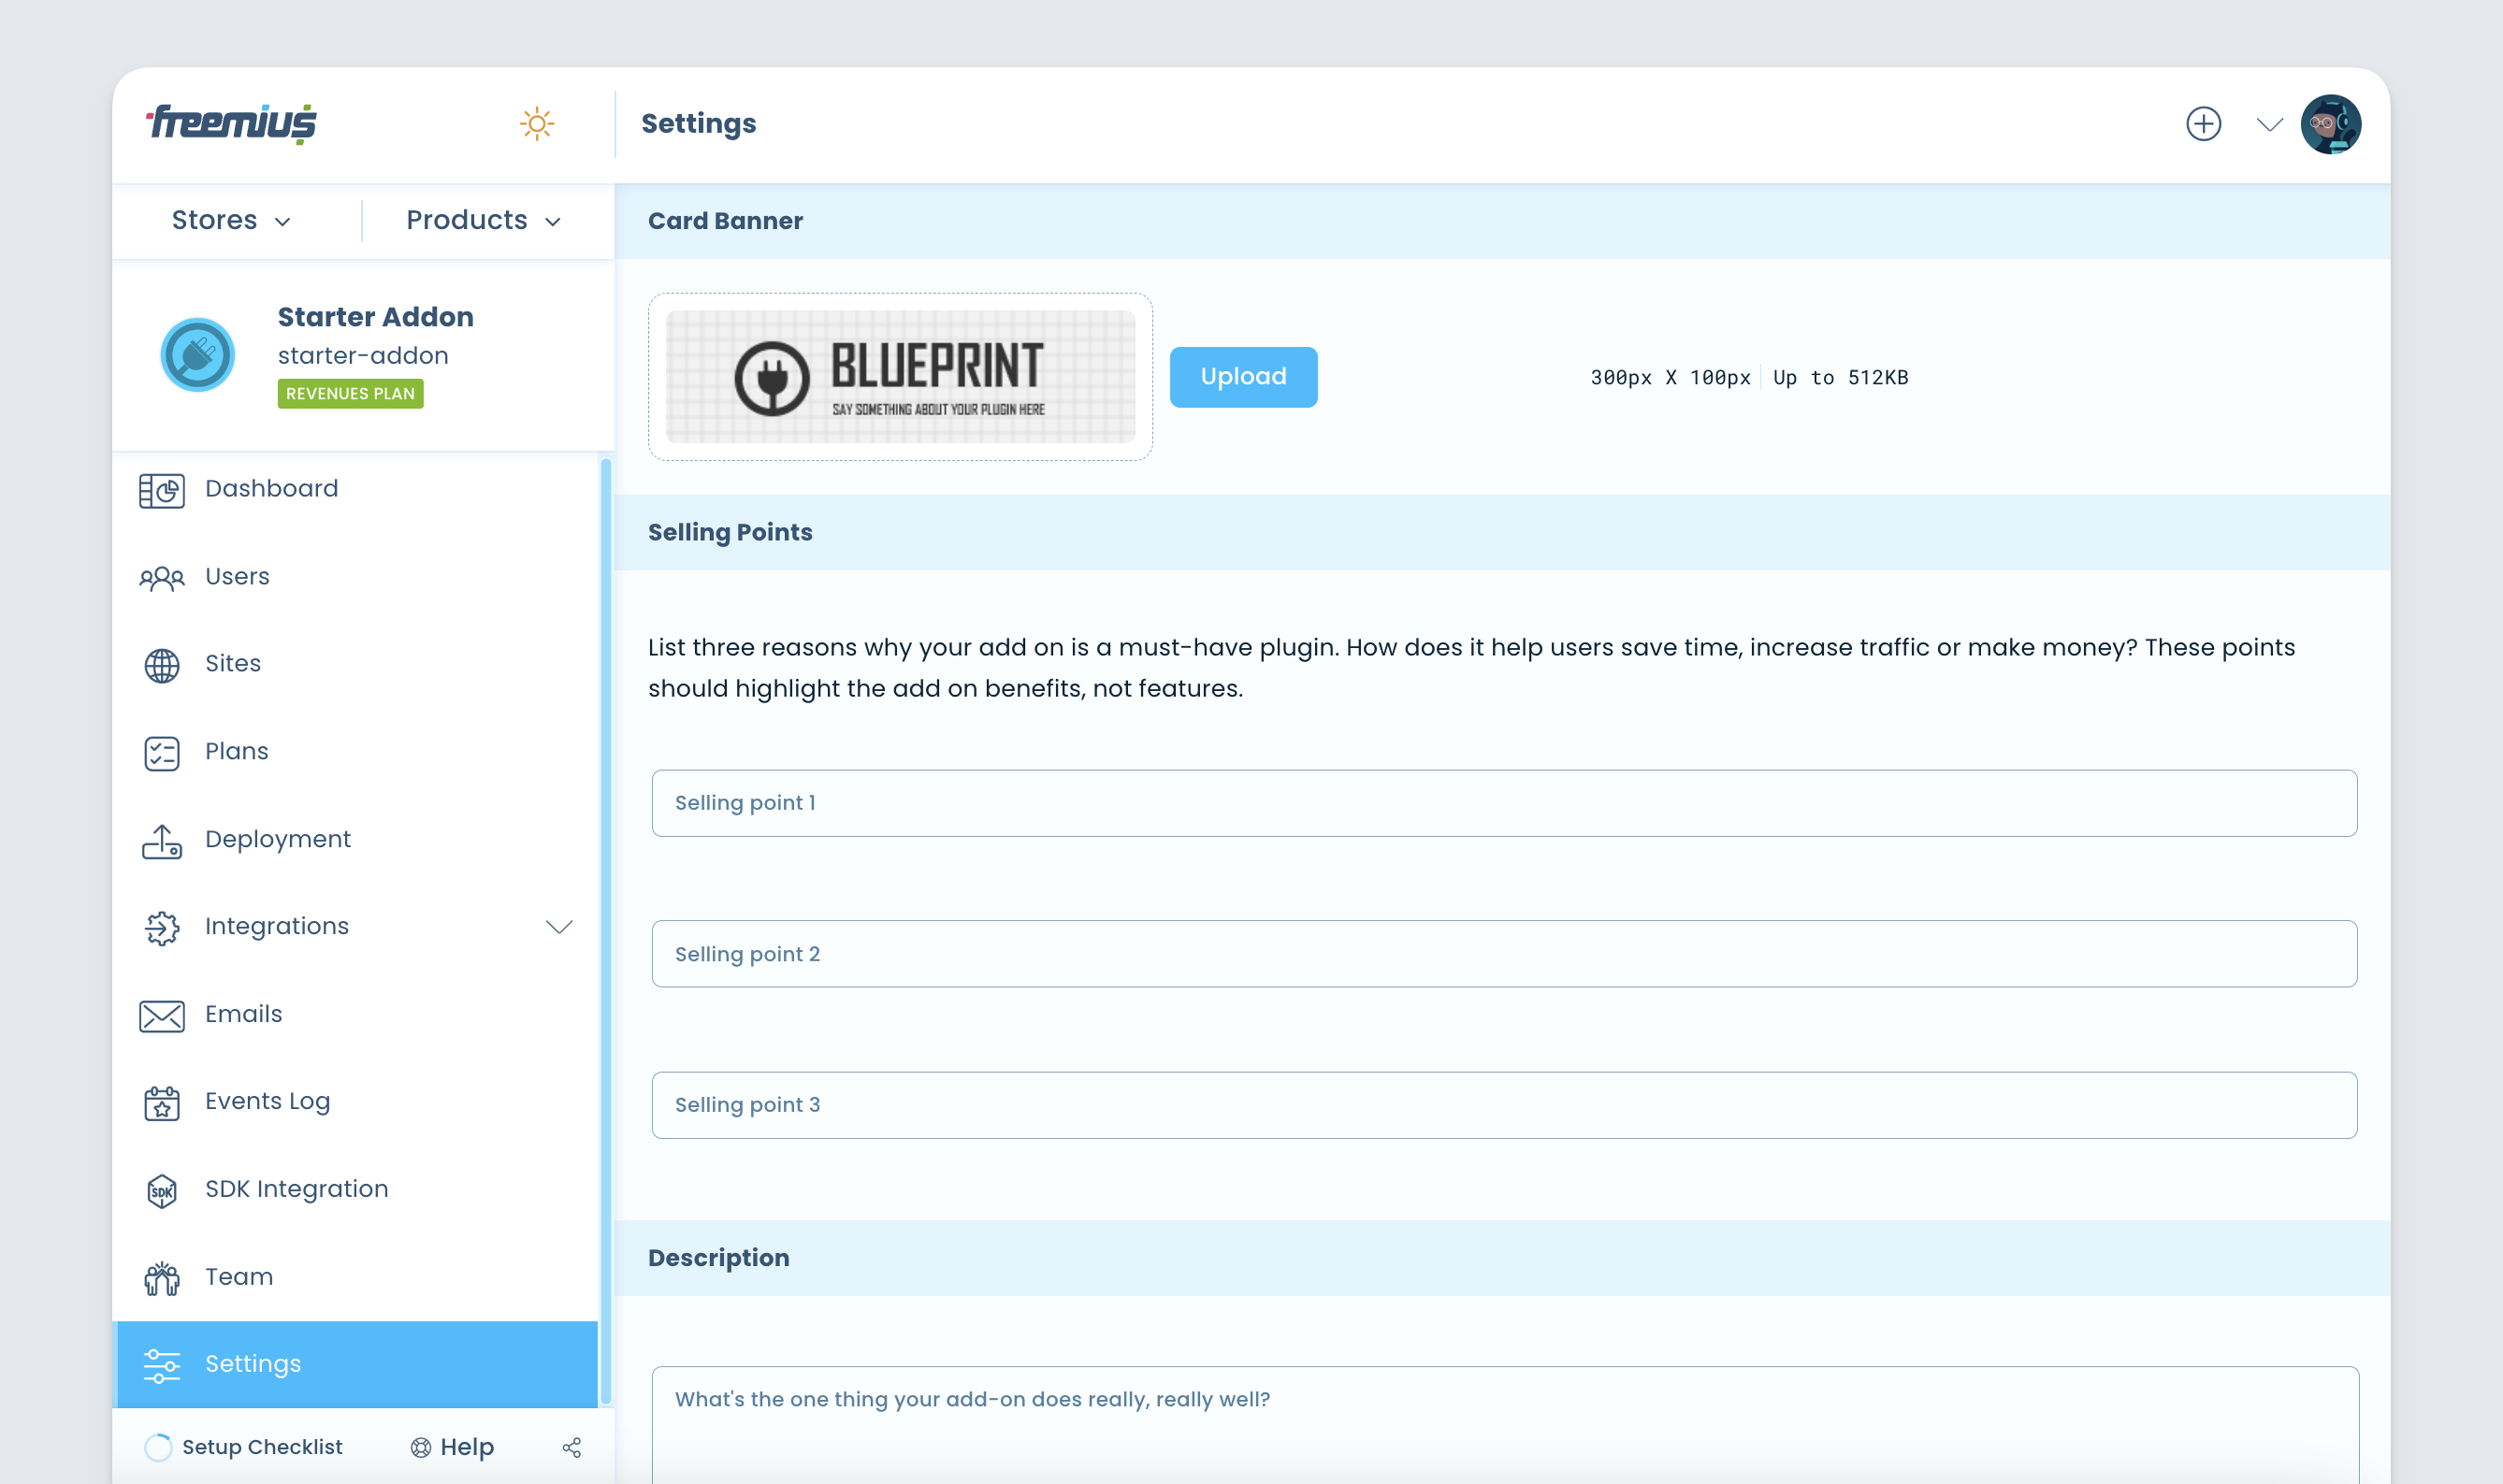
- Unlike in your parent product, you’ll need to add some marketing material like: description, selling points, screenshots, and visual banners. These can be added via the Settings of the add-on product.
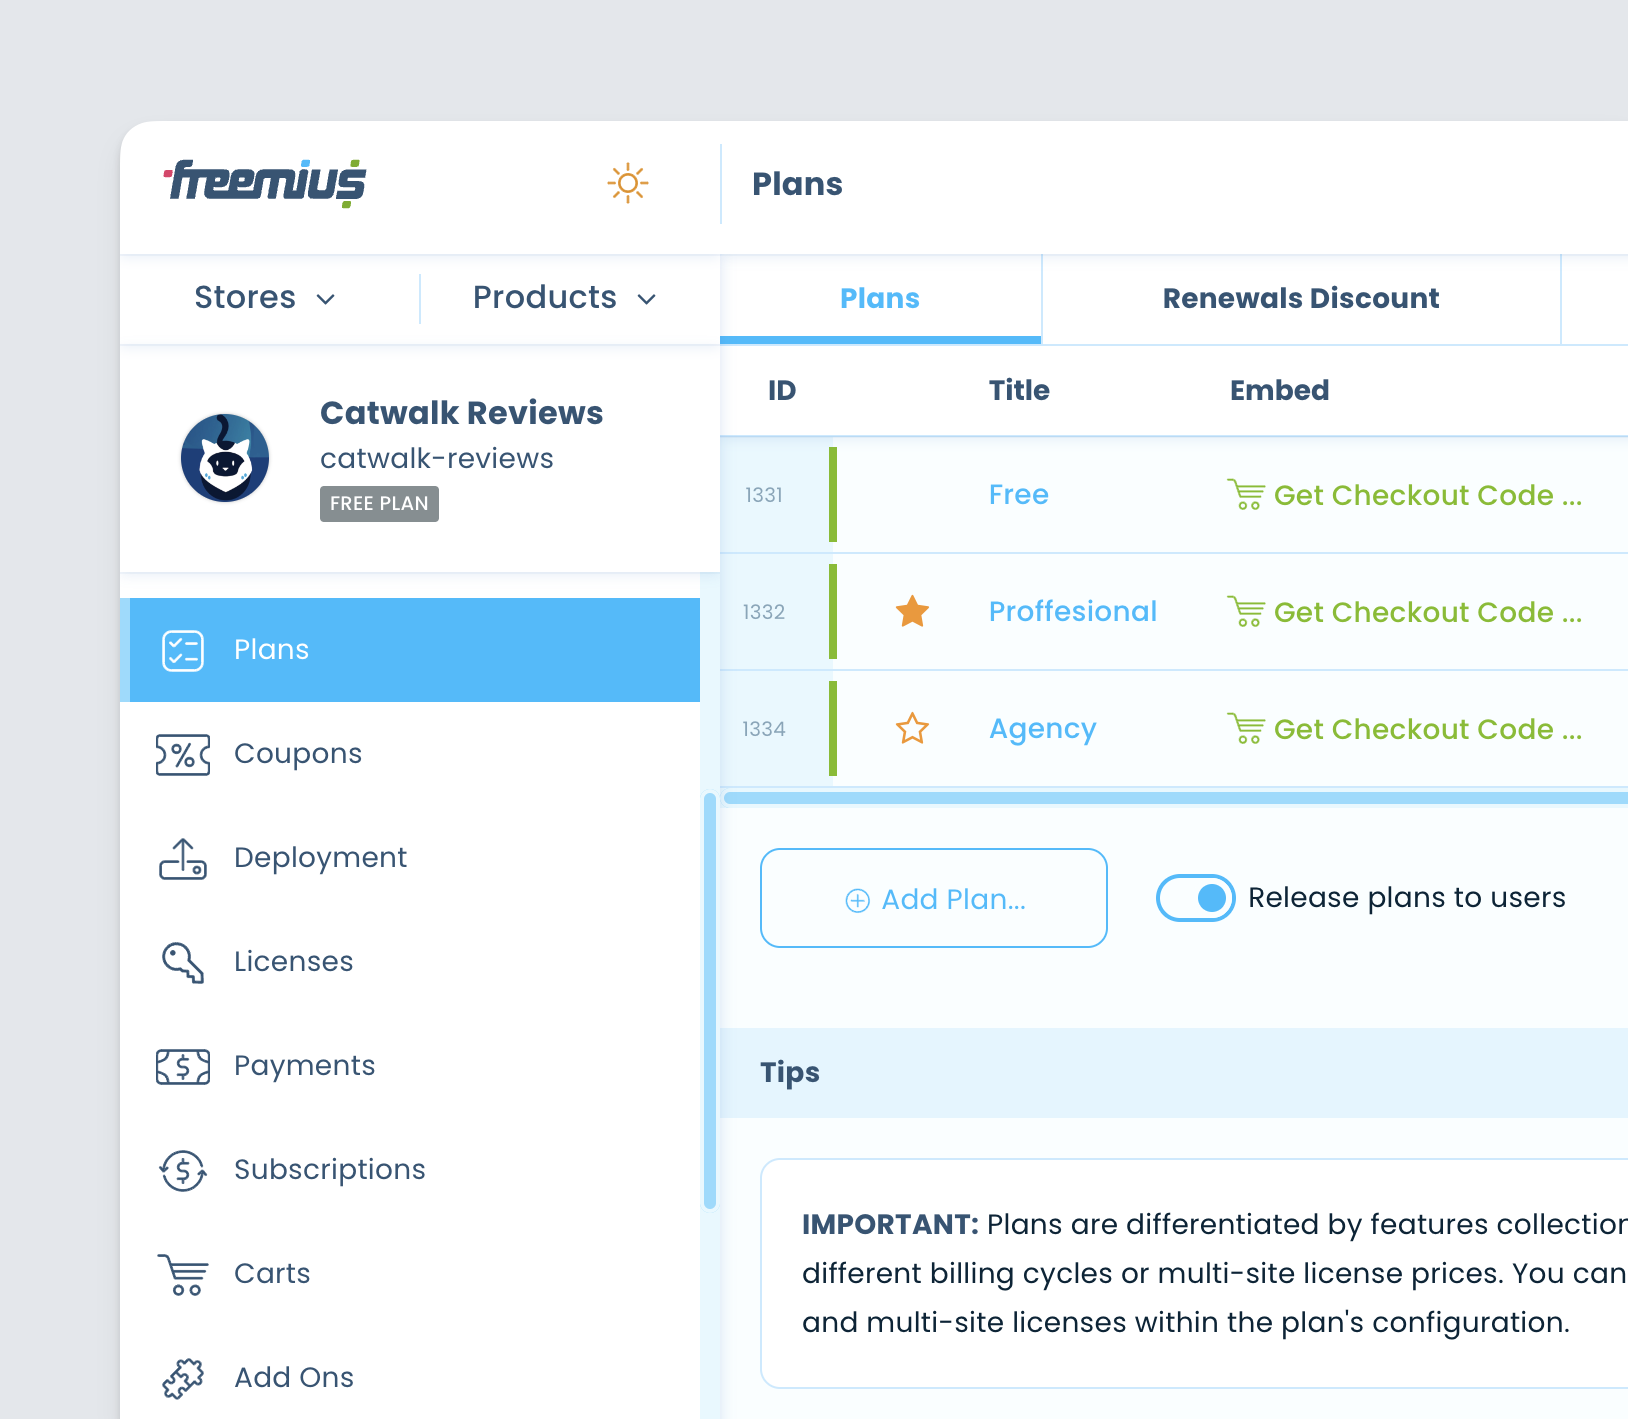
- After you fill up the marketing related material, head over to the add-on Plans and create your plans, pricing, and features list:
You can price your plans based on monthly, annual, as well as lifetime prices (we recommend using all of them). Here are some well researched and helpful articles if you’re not experienced with pricing:
- Careful! This Simple Pricing Experiment Cost Us $2,000 in Revenue
- Lifetime license for WordPress plugins – the right way!
You can also leverage our trials functionality to offer potential customers to try out your add-on before committing.
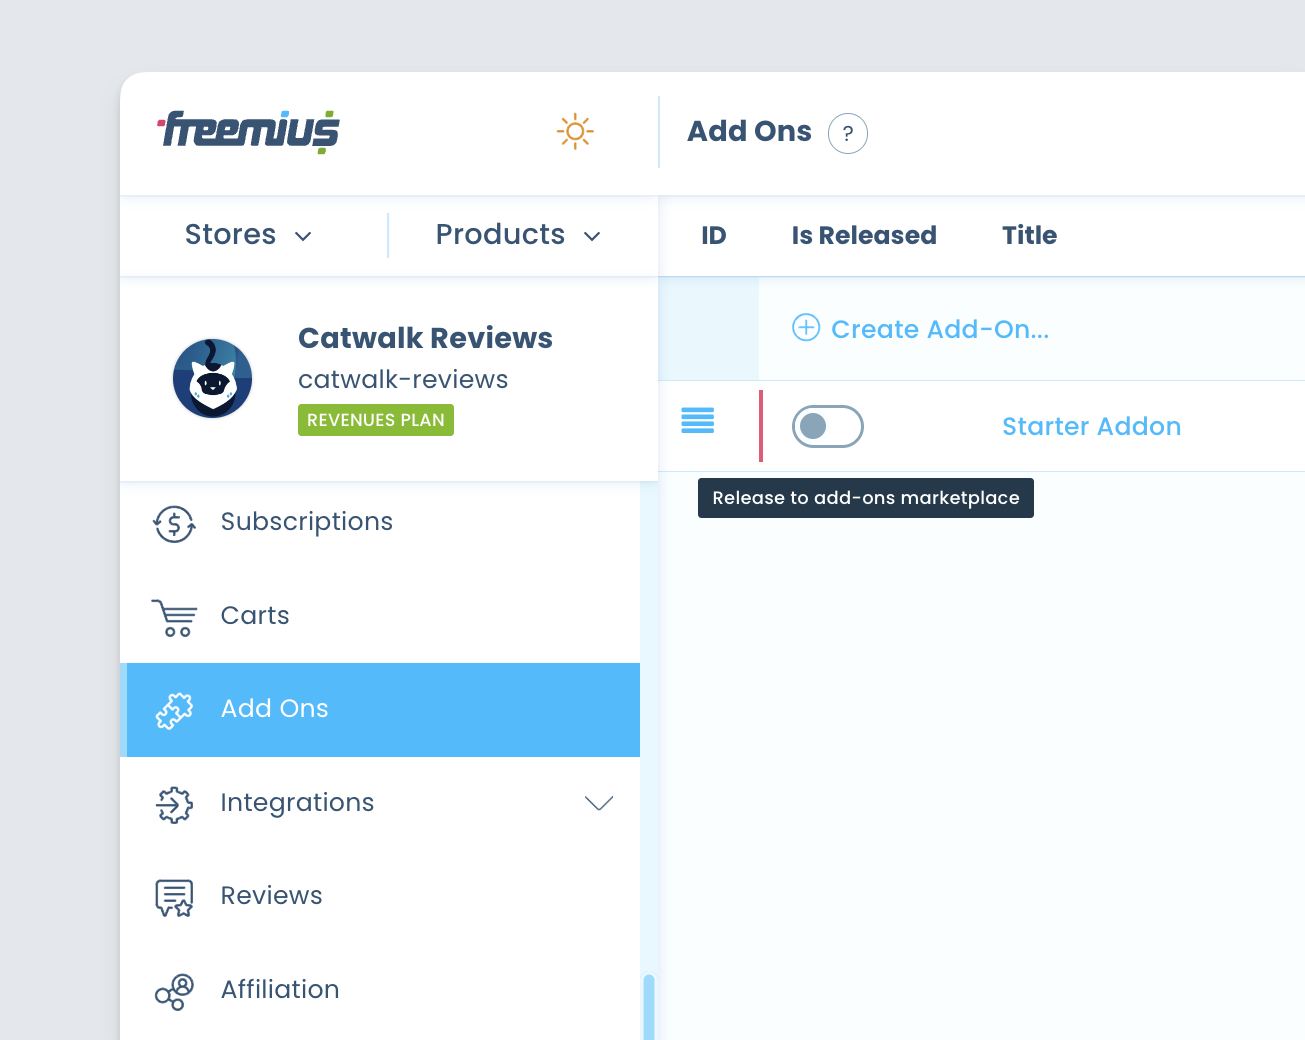
If your “parent” product is already in the wild, we recommend disabling the add-on until the code has been deploy and you are ready to sell the product. Under the “parent” product, go to the Add Ons and toggle the switch.
Selling add-ons from your website
Selling the add-on from your site is a piece of cake.
- Go back to the Plans page, and click on Get Checkout Code the button to get the checkout JavaScript snippet:
- Copy the code and paste it into the add-on’s marketing page source on your site, and you are pretty much ready to go.
Selling add-ons from within the WP Admin dashboard
Now it’s time to integrate!
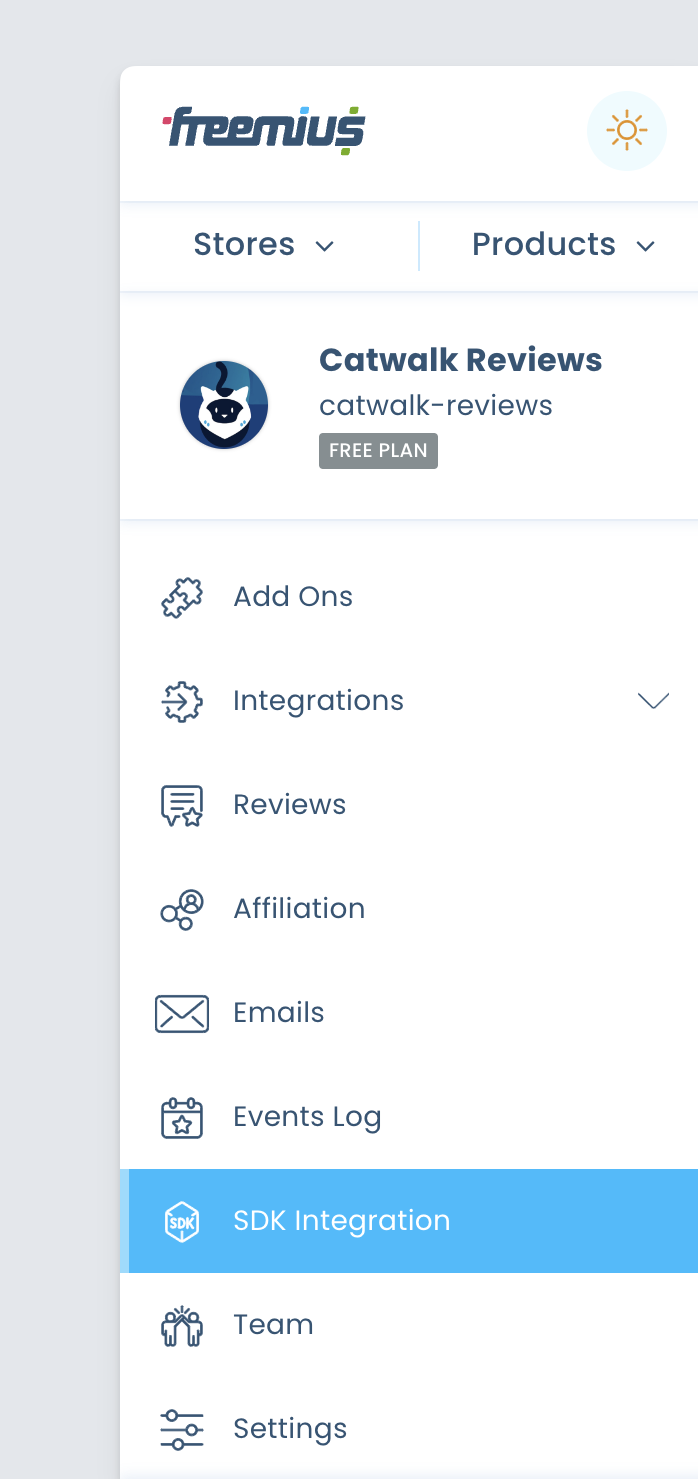
- Switch back to your parent product’s context, and go to the SDK Integration section:
- Follow the SDK integration process carefully, step by step. If you already integrated Freemius into the parent product, you’ll need to update the generated SDK snippet (you’ll notice a new flag named
has_addonsadded). Copy the new snippet and replace the one you’ve integrated previously. - To verify the new snippet, install the plugin or theme on your development environment, and check if a new submenu item is added under your product’s menu item:
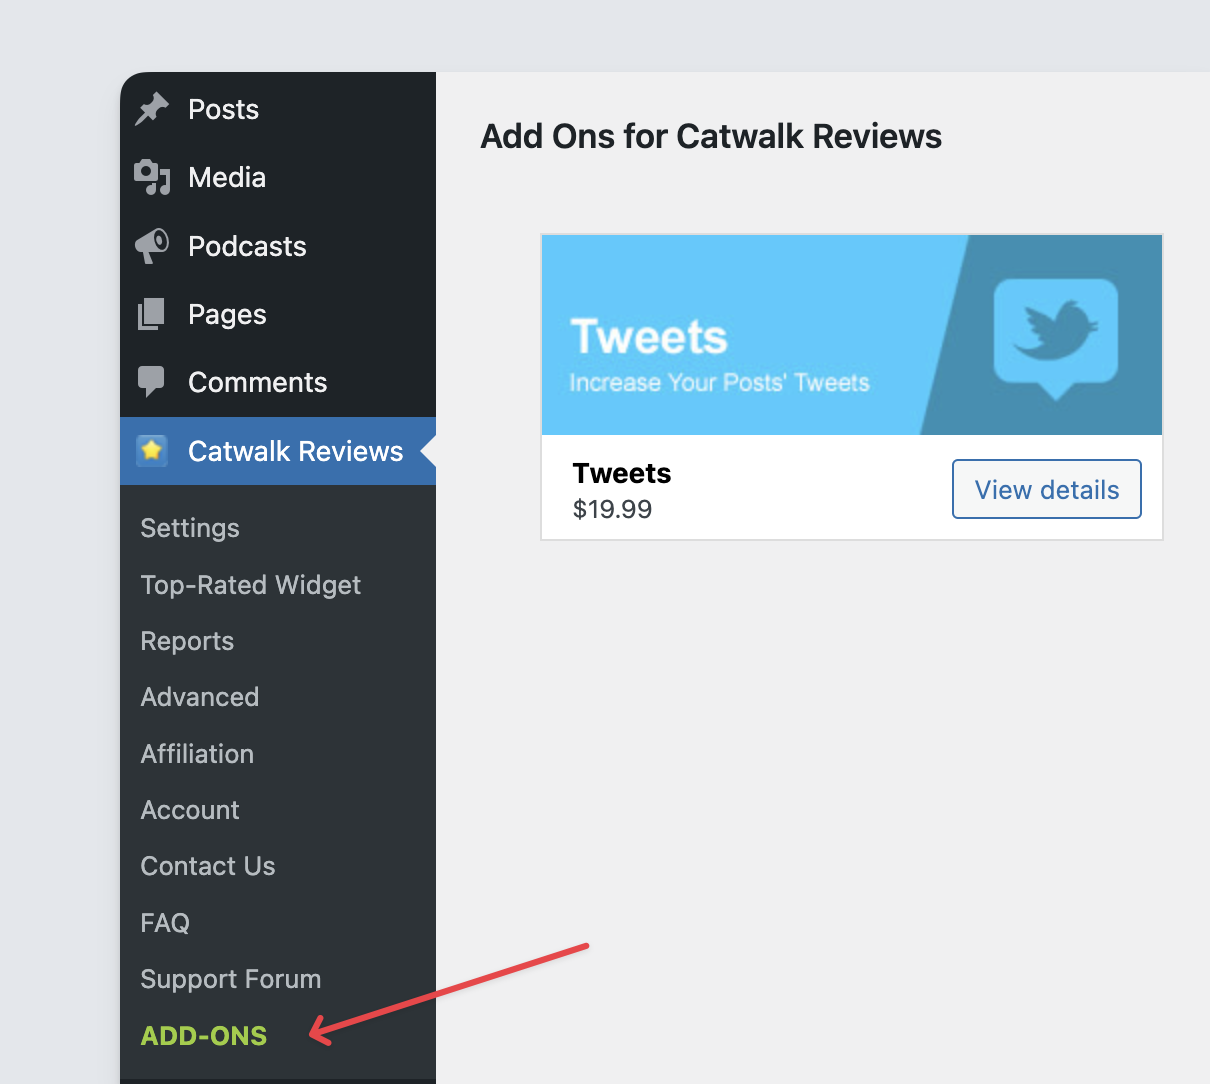
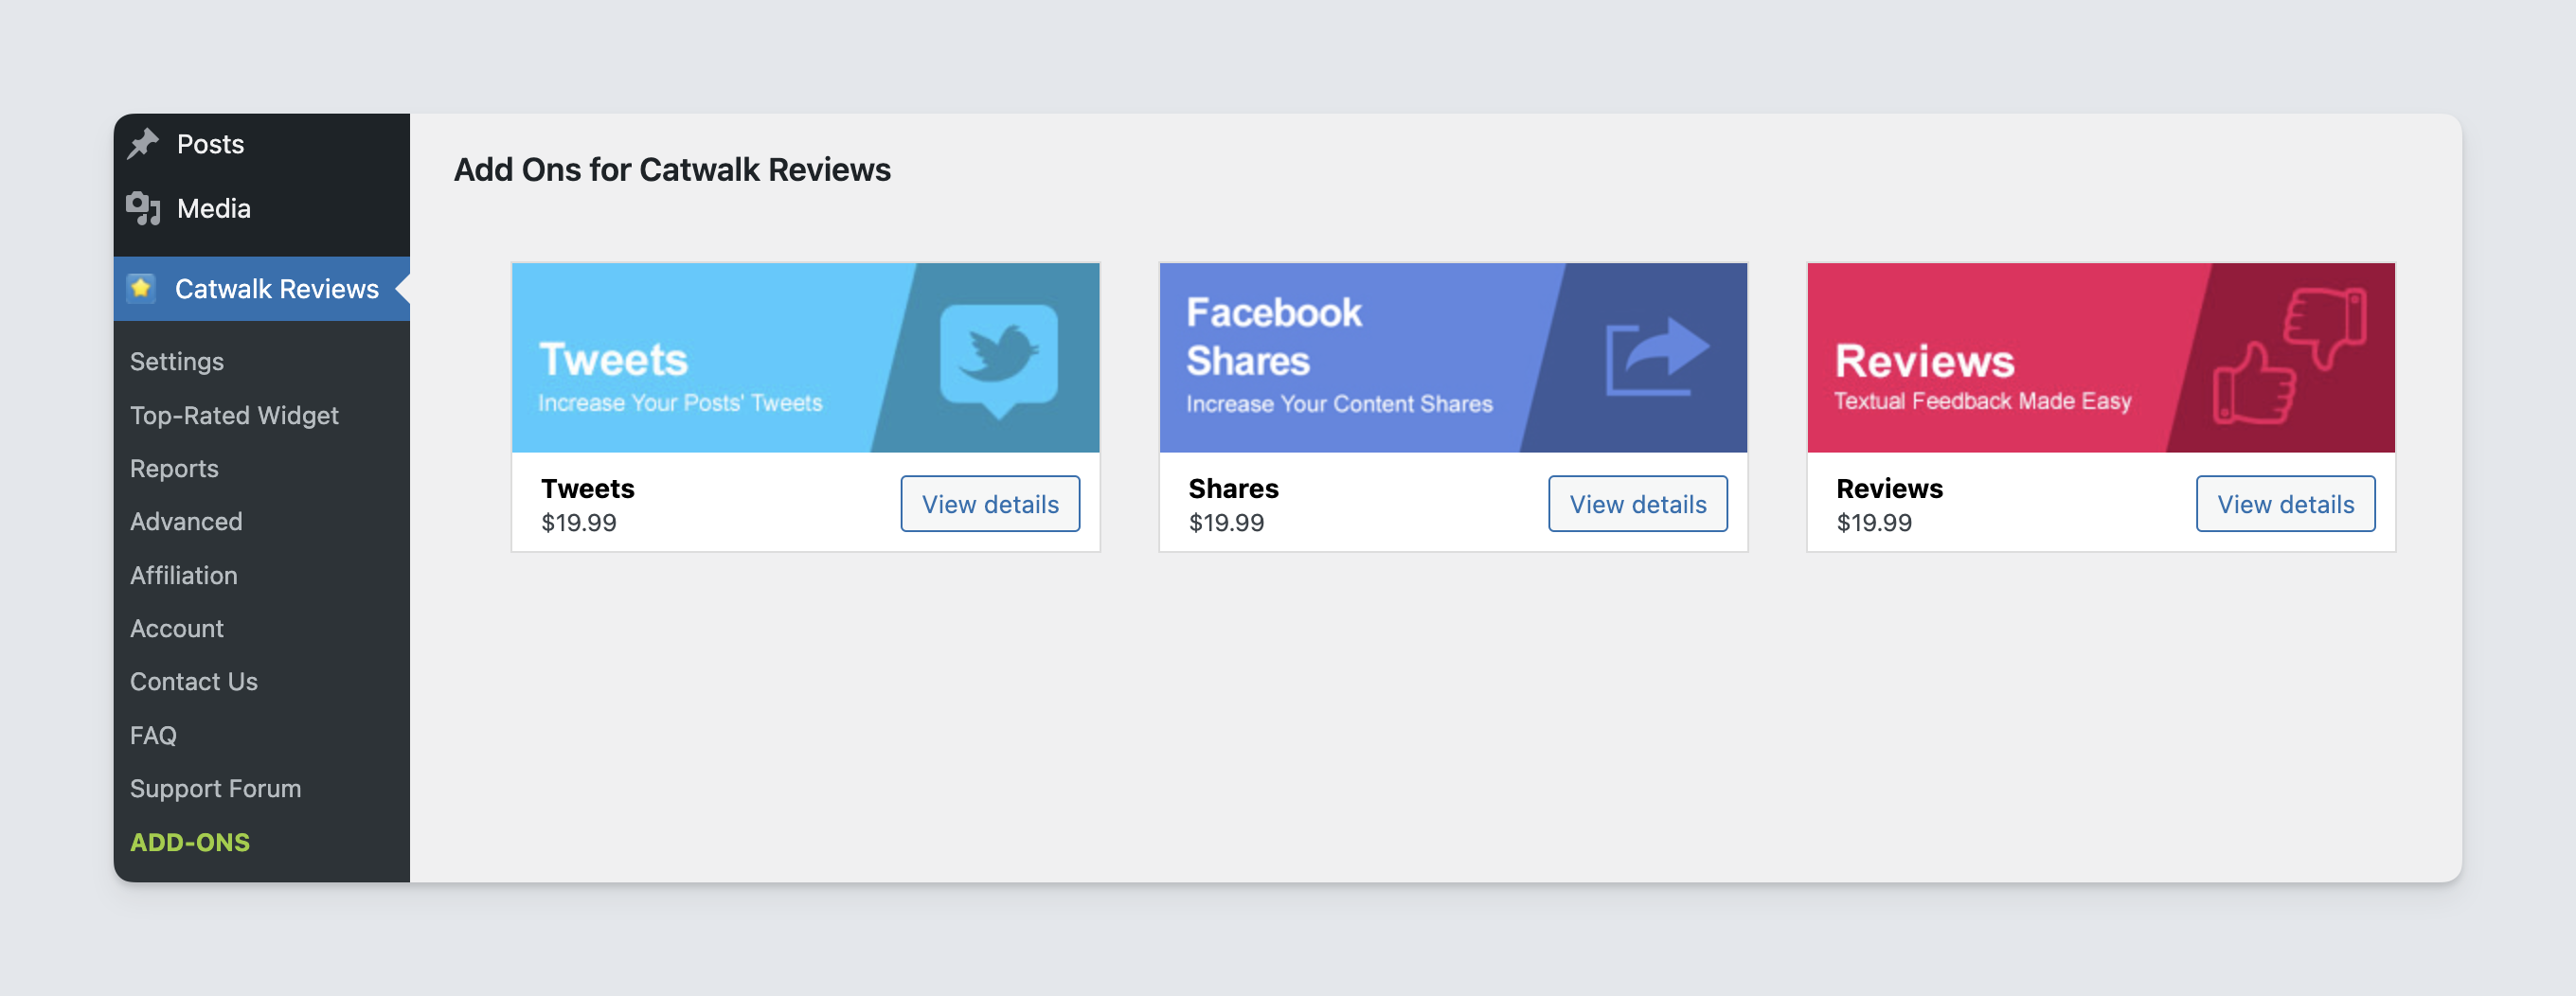
- Clicking on the “Add Ons” menu item in your testing environment should show a mini-marketplace with all the product’s add-ons and you should already be able to test the purchase process
- After validating the parent’s product integration, it’s time to integrate the SDK with your add-on. Switch the context to the add-on by clicking on the Products tab under the Freemius logo and select the add-on by name. Then, go to the SDK Integration, and follow the integration steps.
- When your add-on is ready for production, deploy it via the Deployment section.
- And when you are ready to show the add-ons marketplace to your users simply release a new version of the plugin/theme with the updated SDK integration snippet.
Whenever you want to release a new add-on just create it in the dashboard as described and it will appear automatically in the add-ons marketplace inside the admin dashboard. There is no need to update the parent product to make changes in the add-ons collection.
The in-dashboard add-ons marketplace has a 24-hours caching while running in production. Therefore, if you release a new add-on, it may take up to 24-hours until your users see it live.
